
Water Pressure Regulator Valves: Installation and Benefits
Key fact: municipal mains can reach 150–200 psi, which is enough to burst fittings and wear out fixtures quickly.
This short guide shows how a brass, dome-shaped control device fits right after the main shutoff to cut incoming force to about 50 psi. It protects pipes, appliances, and fixtures from leaks and early failure.
Readers will learn where the water pressure regulator unit installs on the main line, what internal parts do, and simple tests to see if a replacement is due. The piece also breaks down costs, from common part prices to what professional installation might cost.
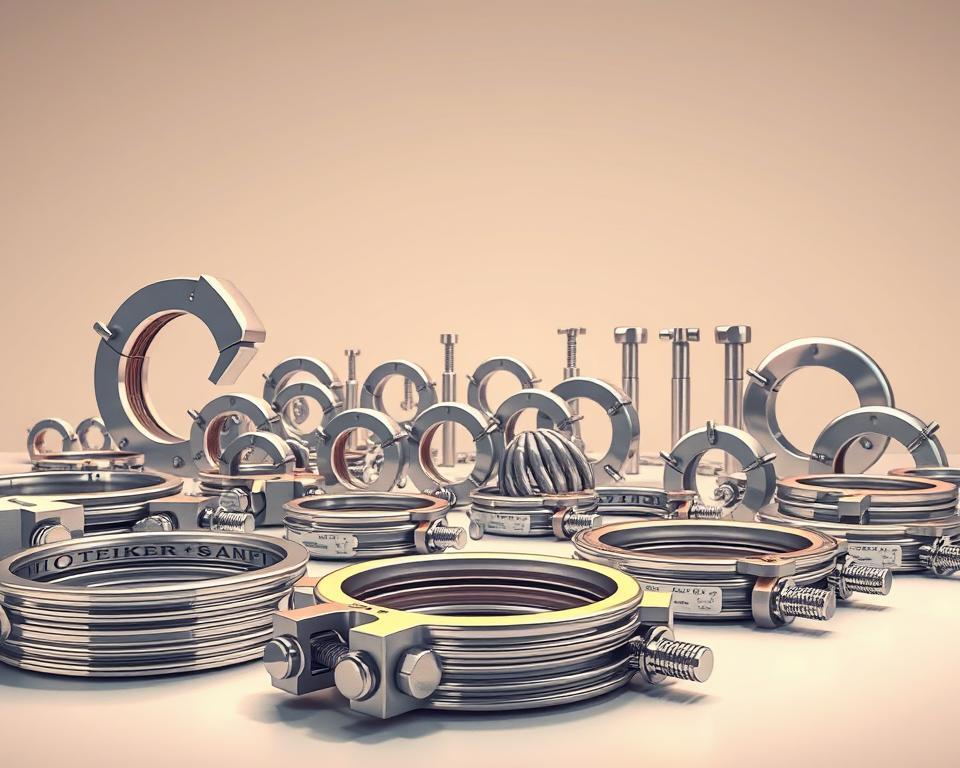
Installation Parts Supply serves as the go-to retail source for parts, fittings, and tools mentioned here, so homeowners can find what they need quickly.
By the end, they’ll know how controlling high force protects a home plumbing system and how a modest investment can prevent costly damage in the future.
What Water Pressure Regulator Valves Do and Why They Matter in Your Home
Homes benefit when a central unit keeps inlet force in a steady, safe band for all downstream plumbing.
That one device reduces incoming water pressure to a safe level so pipes and fixtures aren’t under constant strain. Most residential systems work best near 50 psi, with a practical range of 40–60 psi.
Protecting pipes, fixtures, and appliances from high pressure
Lowering excessive force helps prevent nuisance leaks, pinhole failures, and blown supply hoses. It also reduces spikes that cause noisy water hammer and vibration.
Typical Home Water Pressure Ranges (40–60 psi Sweet Spot)
Keeping readings in that band helps faucets operate smoothly, toilets fill correctly, and showers stay consistent. Dishwashers, washing machines, and other appliances last longer when they’re not subjected to constant high pressure.
- Whole-house protection shields every branch of the plumbing system at once.
- By cutting excess strain, homeowners can reduce fixture drips and wasted water.
- Installation Parts Supply keeps pressure-reducing parts and accessories in stock so installation stays quick and reliable.
Understanding How a Pressure Regulator Works: Diaphragm, Spring, Adjustment Screw
Inside a typical home unit, a spring-loaded diaphragm continually adjusts to keep outlet levels steady.
The heart of the device is a flexible diaphragm and a metal spring that react to changes in incoming water pressure.
When inlet force rises, the diaphragm constricts and reduces flow to the house. If the supply drops, the diaphragm opens to allow greater flow.
Fine-Tuning with the Adjustment Screw
An adjustment screw on the top alters spring tension to set the outlet target. By tightening the screw, you increase the tension and lower the outlet level.
Loosening the screw reduces tension and lets the home run at a higher level. Units with easy top access make this process straightforward for the homeowner.
- The diaphragm and spring keep outlet levels steady through automatic modulation.
- This mechanism smooths spikes and dips so fixtures perform predictably.
- Installation Parts Supply offers serviceable units that allow easy adjustment for long-term control.
| Regulator Action | Immediate Effect | Homeowner Control |
|---|---|---|
| Diaphragm constricts inward | Reduces flow, lowers outlet level | Automatic response |
| Diaphragm opens wider | Increases flow and raises outlet level | Automatic adjustment |
| Adjust screw at top | Sets spring tension and target outlet | Manual fine-tune |
Installation Location: Where the Main Water Line Enters the Home
The safest position for a control device is right after the main shutoff, where the main water line enters the home.
Place the unit directly downstream of the main shutoff so the entire plumbing system gets uniform outlet levels. Common locations are the basement, the garage, or a crawlspace close to the foundation wall. This placement protects every branch, fixture, and appliance using one device.
Placement After the Main Shutoff Valve for Whole-House Protection
The ideal spot is just past the shutoff so one device stabilizes the whole home. An accessible installation makes future service or replacement simple.
- When it’s placed where the line enters the home, one adjustment affects all downstream lines evenly.
- If space is tight, a licensed plumber can reposition the main valve or fit unions and couplings for a neat connection.
- Proper orientation and pipe support help prevent stress from pipe weight or accidental bumps.
- Labeling the shutoff, device, and test points helps anyone identify components quickly.
| Install Location | Key Benefit | Recommended Action |
|---|---|---|
| Just after the main shutoff | Whole-house pressure protection | Install regulator and test points |
| Basement or garage | Easy service access | Mount on the foundation wall |
| Tight piping layout | May require valve relocation | Call licensed plumber |
Installation Parts Supply keeps water pressure regulator units, unions, and couplings sized for the main water line in stock. Using the correct fittings ensures a clean connection and uniform system performance.
Do You Need a Regulator? Testing Incoming Water Pressure
A simple gauge check at a hose bib quickly shows if the home runs within a healthy psi band.
To test incoming water pressure, screw a threaded gauge onto an outdoor spigot or the cold-water laundry faucet. Make sure every tap, sprinkler, and appliance is off so the reading reflects true static psi.
Read the gauge while there is no other flow. For most homes, a steady reading in the 40–60 psi range is ideal.
Values above 80 psi signal excessive stress on the plumbing system and increase the risk of leaks and premature failures.
Recognizing symptoms that suggest a problem
Listen for banging pipes, random swings in flow at showers, or recurring drips on supply lines. These symptoms often point to high psi or a failing control device.
Municipal Pressure Spikes and How to Retest
City supply can rise at night. Check at different times, particularly early in the morning, to catch spikes that daytime readings can miss.
If turning the adjustment screw no longer changes the gauge reading, the device likely needs replacement.
- Buy a simple threaded gauge to measure static psi accurately.
- Test with all water shut off to get true readings.
- Run another test at night if you suspect municipal pressure spikes.
- Order gauges, replacement parts, and reliable units from Installation Parts Supply for fast U.S. shipping.
Selecting the Right Regulator for Your Plumbing System
Select a unit that fits the home’s demand and resists corrosion for years of trouble-free operation.
Materials That Last
Look for bronze-body construction paired with a stainless steel strainer. These components resist corrosion and reduce service calls.
A solid body protects the diaphragm and spring so the unit keeps a steady outlet over time.
Sizing for the main line
Be sure to match the regulator size with the main water line diameter. If the valve is undersized it chokes flow; if oversized it may cost more than necessary.
Replacement Timing
Most units last 4–12 years. Many manufacturers recommend replacement at about five years to help avoid failures.
- Choose a bronze-body valve with a stainless strainer for durability.
- Make sure the adjustable outlet range comfortably covers a 50 psi target.
- Replace proactively if outlet drifts or adjustments don’t hold.
- Ensure there is easy access to the adjustment screw and unions for future service.
| Feature | Why it matters | Typical cost |
|---|---|---|
| Bronze body construction | Strong corrosion resistance | $50–$100 |
| Stainless strainer | Protects internal components | Included or extra |
| Proper sizing | Maintains flow at peak use | Varies by line size |
Installation Parts Supply stocks units, unions, and fittings so shoppers can order a complete upgrade in one place.
Water Pressure Regulator Valves – Step-by-Step Installation Guide
Quick prep keeps the job neat and safe. Begin by turning off the main water at the house valve and opening the nearest faucet to drain any residual liquid. Set a bucket and towel beneath the work area to catch drips and protect the floor.
Measure the regulator and threaded couplings, then mark square cut lines on the pipe. Cut the line, then clean pipe ends and fittings with grit cloth and a wire brush so solder adheres well.
Installing Couplings and Soldering
Apply flux to both surfaces, heat the joint evenly with a torch, and feed solder until it wicks fully into the gap. Allow each joint to cool before you move to the next one.
Mounting, tightening, and leak checks
Position the unit in the correct flow direction, hand-tighten unions, then snug with pliers without over-torquing. Restore supply slowly, bleed trapped air at a faucet, and inspect all joints for leaks under normal flow.
Pro tip: When to call a licensed plumber
If the main water valve needs to be moved or space is too tight to seat the device correctly, call a licensed plumber to reposition the main line and ensure a code-compliant layout.
- Installation Parts Supply carries regulators, threaded couplings, solder, flux, grit cloth, unions, and tools to make a complete DIY kit.
| Step | Key Action | Why It Matters |
|---|---|---|
| Prep | Shut main, drain, protect area | Limits spills and hazards |
| Solder joints properly | Clean, flux, heat, solder | Creates leak-resistant connections |
| System test | Restore slowly, bleed air, inspect joints | Verify system integrity |
Adjusting, Maintenance, and Cost Considerations
Keeping the outlet setpoint steady saves fixtures and prevents slow damage.
Dialing in psi: loosen locknut, turn the adjustment screw, verify
Attach a gauge to a hose bib and note the current reading. Loosen the locknut, then turn the adjustment screw at the top in small steps.
Tightening the screw raises the spring tension and lowers the outlet setting. Loosening does the opposite.
After each change, open a nearby tap briefly to stabilize flow, then recheck the gauge until the reading is steady.
Annual Checks & When to Replace
Make yearly verification part of routine maintenance. Look for unexplained pressure swings, persistent banging, or recurring leaks at fixtures.
If turning the screw no longer changes readings or the setpoint drifts, the unit should be replaced to avoid hidden strain on the system.
DIY vs pro: costs and tools to have on hand
Most units cost about \$50–\$100, and larger line models can reach \$200. Professional installation usually runs around \$250–\$450, depending on location and complexity.
- For DIY, you’ll need couplings, a pipe cutter, grit cloth, flux, solder, and a torch.
- Hiring pros adds speed, code compliance, and a service warranty.
- Keep records of dates, readings, and adjustments for faster troubleshooting later.
Where to Buy – Installation Parts Supply
For convenience, order your gauges, replacement parts, and full installation kits from Installation Parts Supply. Many items ship fast across the United States, so maintenance and upgrades are simple to schedule.
| Item | Typical Cost | Why it matters |
|---|---|---|
| Residential unit (bronze) | $50–$100 | Durable body with reliable outlet control |
| Pro installation | $250–$450 | Includes possible valve repositioning and service warranty |
| DIY tool kit | \$40–\$120 | Couplings, cutter, torch, flux for a complete job |
| Gauge | $10–$40 | Used to verify psi and confirm adjustments hold |
Conclusion
A correctly sized bronze unit with a stainless strainer keeps household flow steady and helps prevent costly pipes and fixture damage.
Installed just after the main shutoff, the unit keeps outlet levels in the 40–60 psi band so showers, faucets, and appliances run smoothly. The diaphragm and spring work together to smooth spikes from the water supply.
Routine testing plus timely maintenance, including proactive replacement around five years, helps prevent failures and hidden damage. For reliable, in-stock options and fast delivery, finish the project with Installation Parts Supply and enjoy quieter, longer-lasting plumbing in the home.
FAQ
What does a regulator do, and why is it important in a home?
A regulator controls incoming mains flow so outgoing psi stays steady. This protection helps pipes, faucets, and appliances avoid damage from spikes or ongoing high pressure. Proper control extends fixture life and reduces leaks and noise in the system.
What psi range is ideal for a typical house?
Most homes aim for a sweet spot of 40–60 psi. That range provides good flow for showers and appliances while limiting strain on fittings and seals. Higher readings can cause premature wear, while low readings lead to poor flow.
How does the device work internally?
Internally, a spring-loaded diaphragm opens or closes the passage to regulate flow. The spring tension sets the outgoing pressure target, while the diaphragm responds to supply changes, smoothing spikes and drops.
How is the adjustment screw used to fine-tune outgoing pressure?
The adjustment screw on top increases tension when tightened, raising the setpoint, and lowers it when loosened. A locknut is used to secure the setting. Always verify with a gauge after small turns so you avoid overcorrection.
Where should it be installed on the main line?
It installs on the main line where the service enters the house, typically after the main shutoff. This location offers whole-house protection and keeps maintenance straightforward.
How do you test incoming pressure to see if a regulator is needed?
Attach a pressure gauge to a hose bib or the washing machine faucet and open the valve. If readings exceed 60 psi or fluctuate wildly, installing a regulator or servicing an existing one is advisable.
Which signs indicate that a regulator needs to be replaced?
If you see persistent pressure swings, leaks at the regulator, inability to hold set psi, or visible corrosion, replacement is recommended. Older models that fail frequent checks should be swapped for newer, reliable units.
How do size and material affect regulator performance?
Choose a body size that matches the main line plus a unit rated for the desired psi range. Durable materials like bronze bodies and stainless screens resist corrosion and clogging, improving longevity.
Is installing a regulator a DIY job for a homeowner?
Yes, a competent DIYer can install one: shut off the supply, drain lines, cut and fit couplings, and secure the regulator. Proper soldering or compression fittings and thorough leak checks are critical. If repositioning or complex changes are required, a licensed plumber should be called.
How do you adjust and maintain a pressure regulator?
Loosen the locknut, adjust the screw in small steps, and confirm with a gauge. Carry out an annual inspection for leaks, debris, and possible spring fatigue. Replace cartridges or the whole unit if performance degrades.
What costs and tools are typical for a DIY regulator install?
DIY costs include the regulator, fittings, flux, solder or compression fittings, plus a pressure gauge. Expenses vary by model and materials; hiring a plumber adds labor but ensures correct placement and code compliance.
Where can one buy reliable parts and fittings?
Reputable suppliers such as Home Depot, Lowe’s, and specialized plumbing stores carry quality regulators, bronze bodies, and strainers. Installation Parts Supply, along with established brands, provides certified models and replacement components.
When is it better to hire a plumber instead of DIY?
You should hire a pro for complex main relocations, soldering near electrical components, code questions, or if you don’t have tools or comfort with shutting down and recharging the main line. A licensed contractor ensures a safe, code-compliant install.